Travel Photography: The photography tricks and tips that actually make taking photos easier when I am on the road

Here is the harsh truth: I travel and I don’t always have time to take photos.

And I mean real photos, not just pulling out my phone at a monument and tapping the screen. Real photography takes time and attention, and when you’re traveling with other people or on a schedule, both of those things are in short supply.

But I still need to take photos.

And if you’re reading this, so do you. So here’s what works for me.

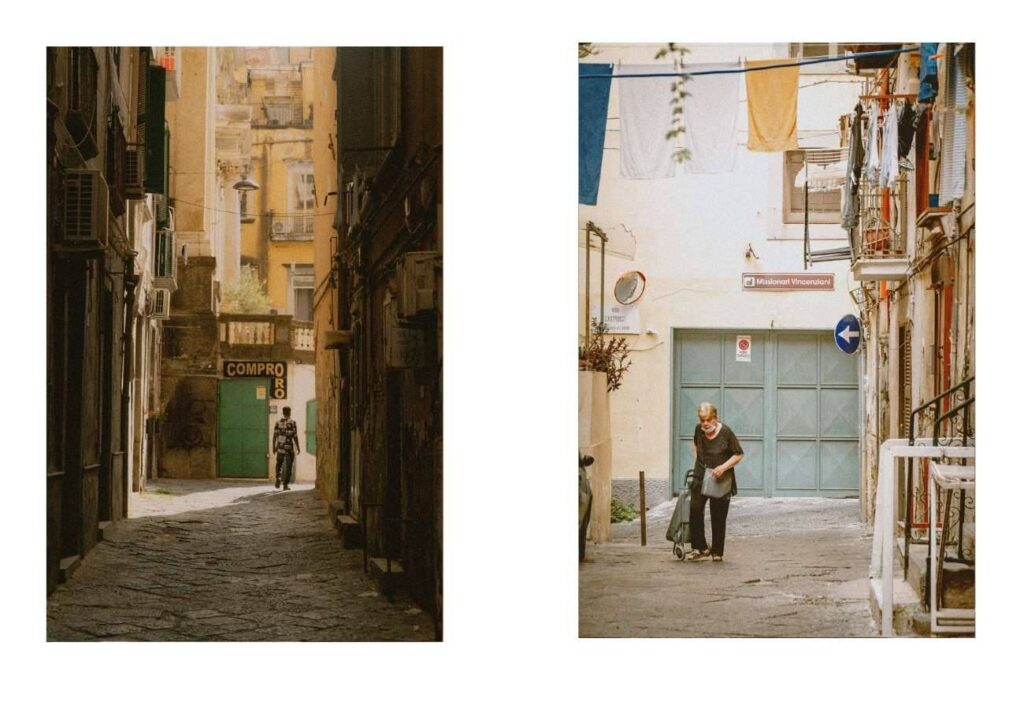
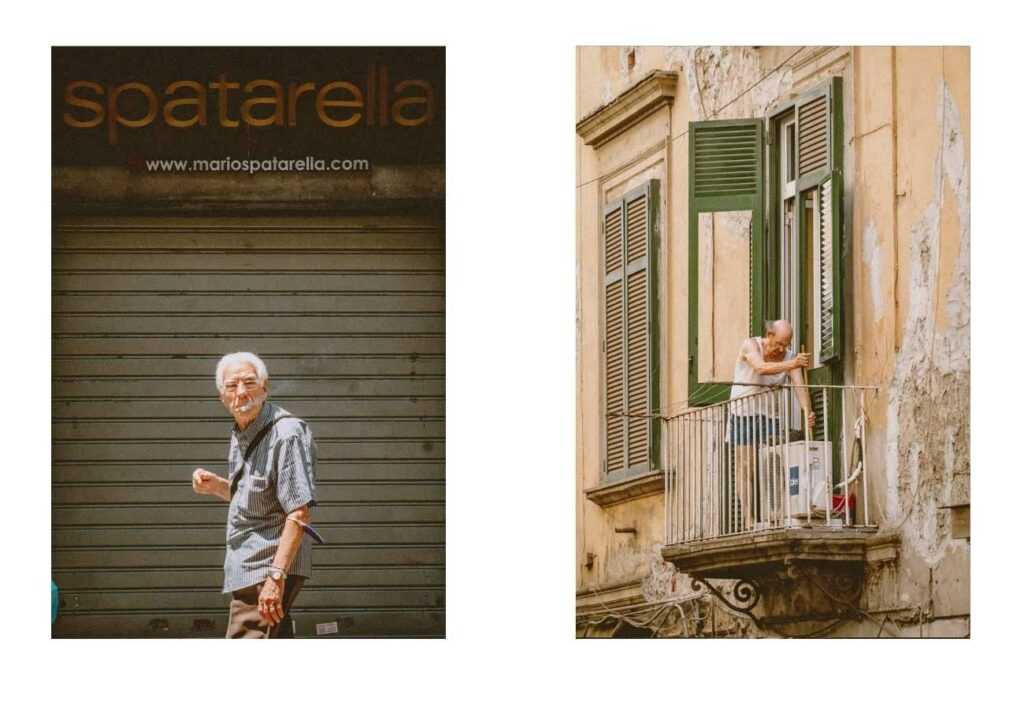
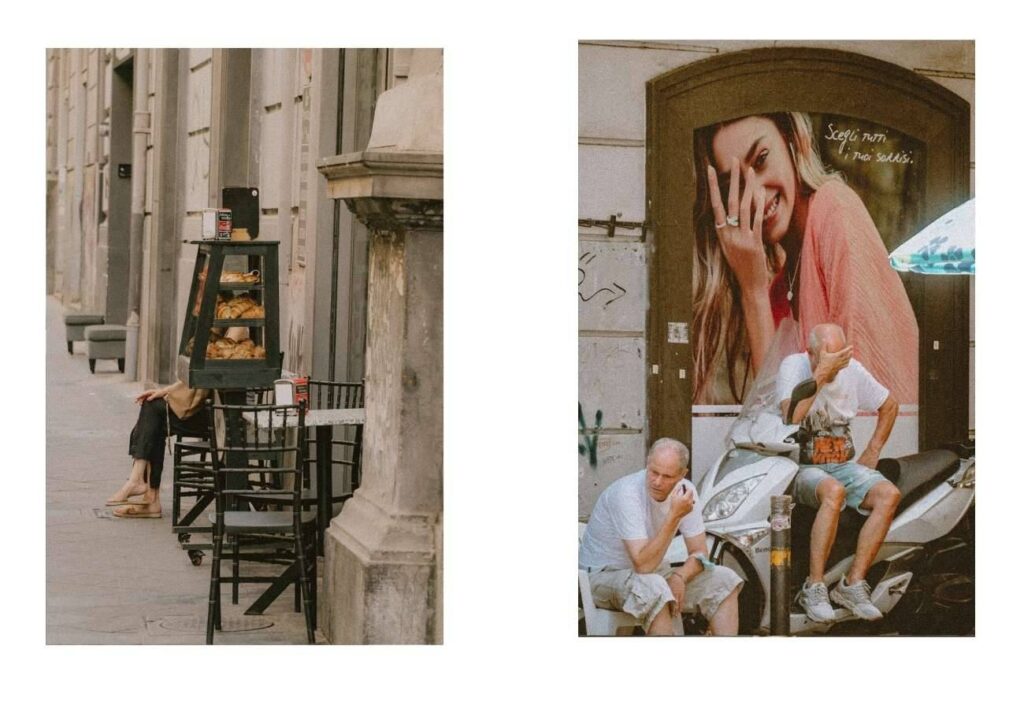
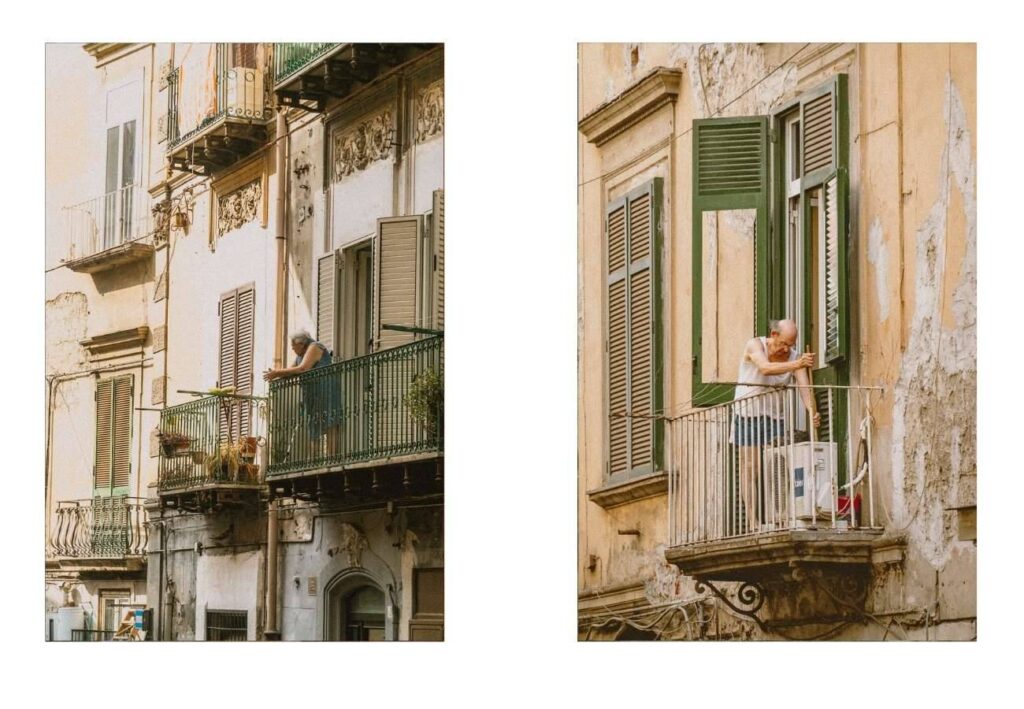
Photograph the streets as they are. Everyday moments on a foreign street are some of the most effortless and rewarding subjects you will ever find. It’s always interesting for me to observe people going about their day and doing completely ordinary things in a place that is completely new. Plus there is a abundant stream of photo opportunities.

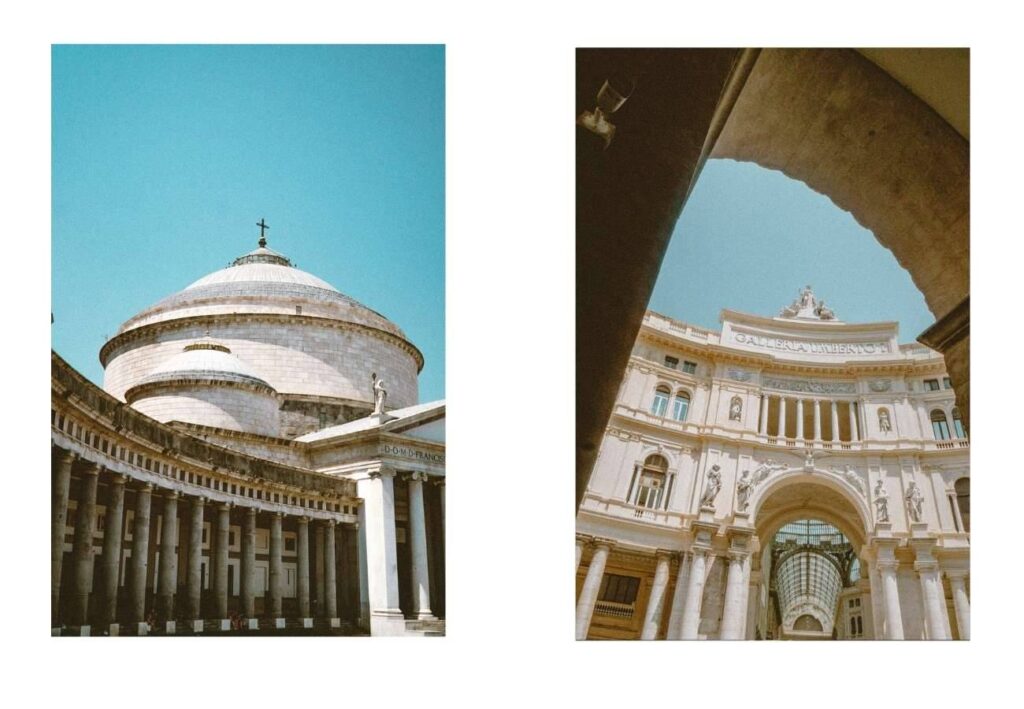
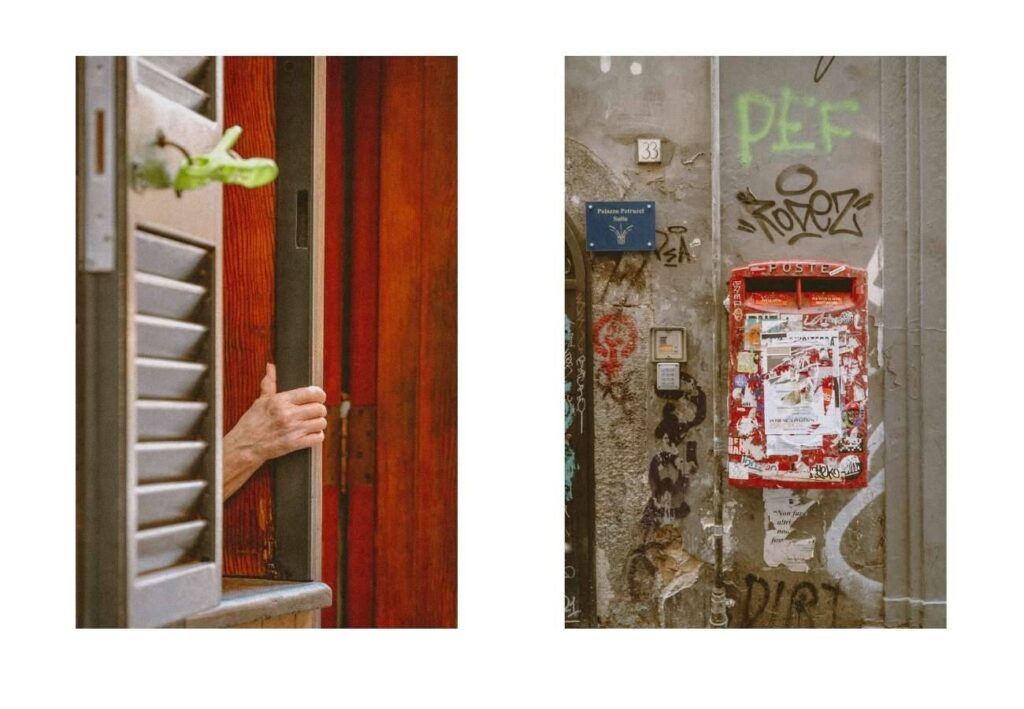
Look at the architecture and the details. Local streets, doorways, alleyways, painted walls. These elements tell you exactly where you are without a single person in the frame. Shoot them and build a sense of place.

Use simple composition rules to shoot fast. Leading lines, frame within a frame, negative space. When you internalize these you stop thinking and start reacting, which is exactly what travel photography demands.

Take your camera off manual. Aperture priority with auto ISO removes the cognitive load completely. You set your aperture, the camera handles the rest, and you get to focus on what actually matters: finding subjects and framing them well.


Stay in one spot for at least ten minutes when something catches your eye. This one changed the way I shoot. The first interesting scene is usually just the beginning. If you stay, more will come. Sometimes much better ones.

Bring more batteries and SD cards than you think you need, and shoot a lot. You don’t know when you’ll be back. And if you do return, the light will be different, the weather will look completely different. Shoot now like there’s no return trip, because there probably isn’t.


Take the tourist photo and move on. Get it for your archive, then turn around and find something more interesting. The highlight is rarely the best shot.

Use a zoom lens. Mobility and fast reactions matter more than anything else when you’re moving through an unfamiliar city. A zoom gives you both without making you choose.​​​​​​​​​​​​​​​​

This is basically my routine when I have very little time and still want to come back with something worth keeping.

It works whether I’m somewhere for a day or a week.

Try it on your next trip and see what happens.

The mistake that ruins your photos everytime


Look at what’s happening here.

Back in the day I was taking some AMAZING (or absolutely terrible) photos that had one thing in common: I had no idea WHY some were great and WHY some were awful.

That was a big problem for two reasons: With the good photos I didn’t know exactly what happened and what made the shot work, so I couldn’t repeat it. With the bad shots I didn’t know what went wrong so I could avoid it.

Every shot felt like it happened by accident.

For example, you might have had moments where everything clicks and fits perfectly inside the frame, but you have no idea why the shot works, or more importantly WHAT makes it work. You just pressed the shutter.

Or the opposite: nothing works in the frame at all. And this is happening while your exposure and settings are perfectly correct.

So what is missing?

Intention. In other words, having a technique that helps you take better photos by making the right choices consciously. Knowing what you are doing, basically.

If you don’t know where to start, I’ll make it all practical for you. I’ll tell you what I do now and what has completely freed me up.

What helped me a lot in the beginning was locking my camera position for ten (10) seconds before taking a shot. Yes, TEN seconds. At first it felt excessive, but when you stop changing your frame every 3 seconds and look through the viewfinder without rushing, you start seeing things you were missing before. A detail or branch ruining the composition, an element in the background distracting from the subject, or simply a better frame that comes from just zooming in or out. This is how you train your photographic eye, discover subjects, and immediately start taking better photos.

The other thing that works really well for me is visualising the frame before I even raise the camera. Ok it sounds a bit strange but hear me out. For example I see a sign and I imagine what it would look like if a person walked behind it. At that moment there might be nothing interesting there, but if I wait a little, suddenly I have 2 good shots because the right people walked through my frame. This is incredibly useful for suddenly taking much better photos.

And one more thing that saved me from pointless gigabytes of photos and HOURS spent trying to find the good ones after each shoot, so do this too: take one shot and stop. Look at it CAREFULLY. What worked? What didn’t? What can you change to make it better? What should stay in the frame? What should stay out? Don’t start wasting frames hoping that one will randomly turn out good. Make the most of that one photo because it will ALWAYS show you exactly what needs to be fixed to get an outstanding shot.

Of course in this case it is not enough to just know what the problem is. You also need to know what will solve it once and for all.

Because let’s be honest, however much money you spend on gear, it will all go to waste if you don’t fix the problems ruining your photos that have nothing to do with equipment.